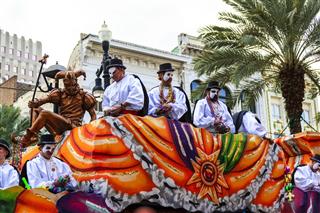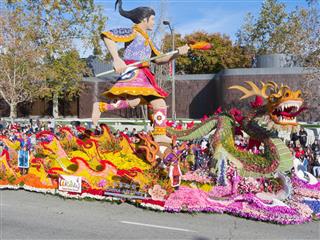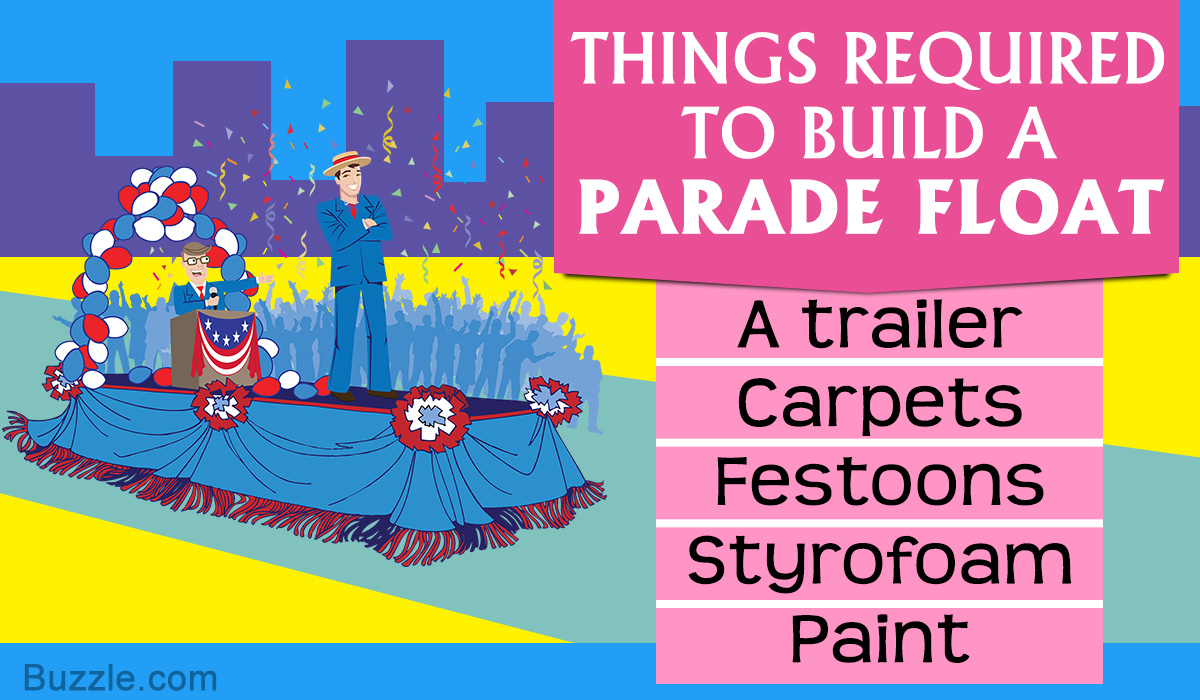
The work can be challenging, arduous and time-consuming. Building a parade float is limited by a number of factors, removing which can make yours the best one in the parade. Find out what it takes to create a masterpiece.
If you’re trying to make a small float for the first time, you should know that making a float really isn’t as hard as it seems. You just need to enjoy what you’re doing, realize the result and pay attention to safety. Keep these things in mind and you’ll see that anyone can make their own float. You can do it alone, just that it’ll take too much time out of your regular schedule. There really is no such feeling as working for something as a team, whether it’s with your own family or your football team.
Preparations for the Build
Planning the Build
Before you figure out how to build your own parade float, you need to be sure of the idea that you’re building the float on. It needs to be original, creative and appropriate for the event. And, you need to add a little of your own style to it. You can imagine the float on a piece of paper before you head out to build it. Get the measurements right and in accordance with the size of the trailer you’re going to build the float on.
Buying for the Build
Here’s a list of things you need to get for your float before you know how to build a parade float.
● A rather obvious thing you need is the trailer to build the float on. You’ll come across two kinds – the lowboy trailer and the hay trailer. Depending on which one you get, you’ll need a couple of extra things for the float.
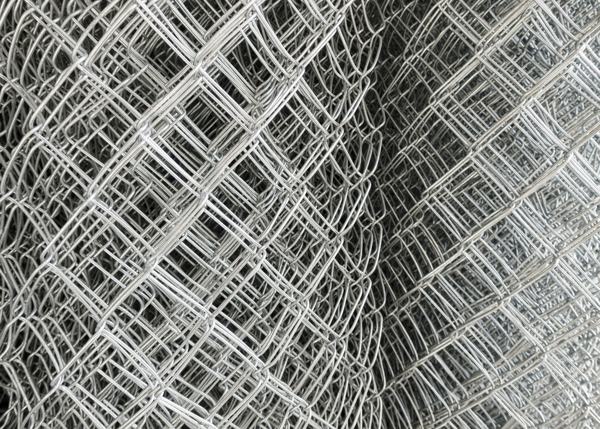
● Next on the list is chicken wire. It’s what you’ll wrap around the frame to cover it up and stick all the decorations on it or in it. Don’t get one with too wide an opening, around 1″ should be fine.
● You’ll also need the decorative tissue squares to go around the chicken wire and the rest of the construction of the float. Choose the colors wisely and get the appropriate quantity to avoid wasting it.
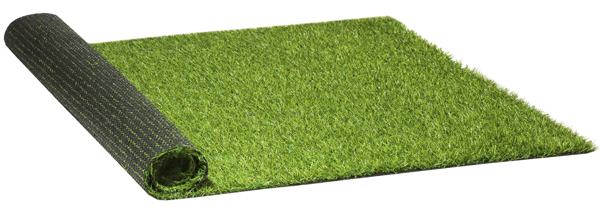
● You will then need some carpeting for the floor of the float on which stands the float and you. You can buy cheap colored carpets or sheets of fake grass if you’re going for the green color. Ask the vendor if you can just rent the carpet for the day or if you can get some resale value on it, if you intend to discard the carpet after using it on the float.
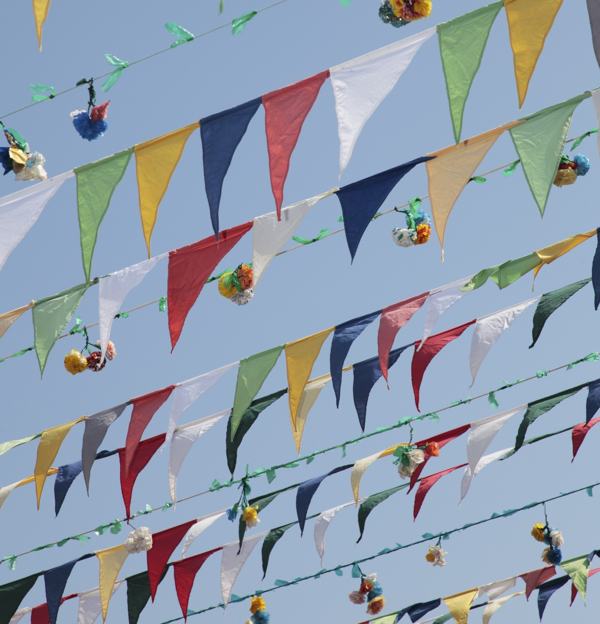
● Next is festoons, and you need lots of them! You’ll never have enough festoons to add to the float. Get the right kind of color and make sure they don’t tear too easily.
● If you want to give a flowery touch to the float without having to cut a million paper flower petals, you can buy a floral sheeting. Get the ones that are waterproof and durable, so that you can reuse them for another float. Floral sheets are a great way to cover up the sides of the trailer.
● Another thing you’ll need is the decorative fringe. It will mostly go with the sheets on the side to cover up the wheels of the trailer and to add to the color and glitter.
● The most important thing for the float is Styrofoam. You will use this, along with some basic wooden framework and chicken wire to build the structures on the float.
● You will also need wood for the framework and some strong plywood sheets to cover the floor of the trailer.
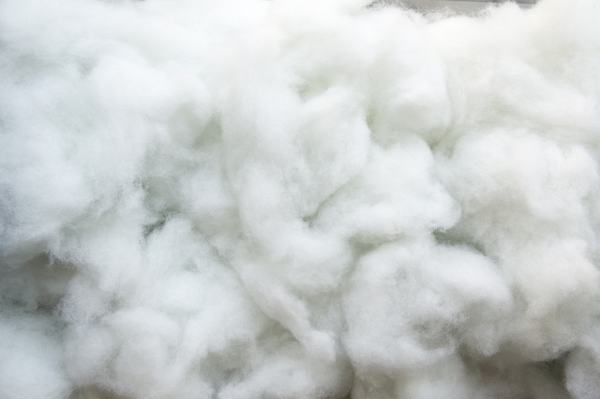
● If you’re making a float for an occasion like Christmas, you can use white upholstery stuffing. Avoid using cotton as it can catch fire rather easily.
● The final thing you’ll need is paint. Get the kind that sticks to wood and Styrofoam and dries easily.
A good idea would be to ask the festival committee for help on the material needed. They might have some spare decoration material lying around so that you can borrow and save money on.
Building a Parade Float
We’ll start from the bottom and work our way up – get the trailer floor sturdy, lay the decorations on the floor and the sides, then add the structures on top.
The Trailer
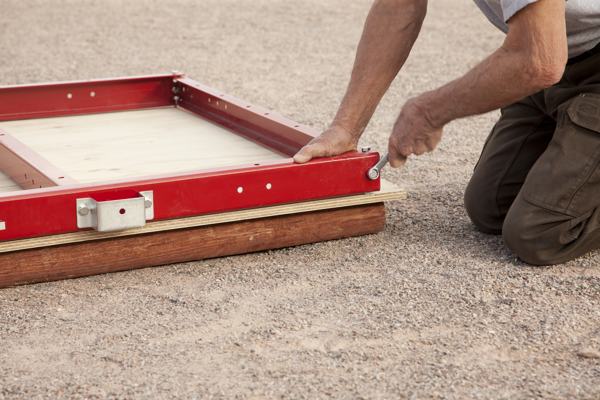
● If you’re using a trailer with railings on the side, you need to build wooden frame boxes to fill the space inside and layer it with plywood sheet. Safety is very important here, build the frame with a firm hand and accurate measurements.
● If you’re using a trailer with a flat floor, you need to work on the skirts. Use wood to build the skirts on the trailer. Make sure they don’t sway from front to back or move when pulled on. Use a wooden brace to fit the skirt to the bottom of the trailer floor.
● The skirt will then be covered by chicken wire. You can either staple or nail the wire on to the skirt. If you intend to use decorative fringe, make sure the skirt isn’t too low. This also ensures that it won’t get hit by any bumps on the road.
● If you’re going to use festoons for the edges for a frill effect, make sure they are exactly the height of the trailer. Stapling them to the trailer is good enough, as adhesives can make it look a little botched up where you use them.
● If you’re using fillings, fill the chicken wire openings with it and make sure it is stuck in there. You can also use glue to stick the tissue squares on the wire, on top of which you can stick the filling. If you’re using floral sheets, you can staple them or stick them to the chicken wire.
● Cover the floor of the trailer with the carpet, fake grass, fake snow or floral sheets and make sure it’s stuck there.
The Center Object
● If an object on the float is supposed to look solid, it needs a basic, strong, geometric frame inside it. There will be all the more reason to make it really sturdy if someone is going to sit on top of it.
● If you intend to have someone sitting or standing on the center object, always remember that safety is more important than looks. Plan it out on paper first and then carry on building the seat or small platform for the person
● The frame will then be covered by chicken wire, which you should make sure is stretched around the frame to secure it.
● The decorations that go on the object are to handled neatly because that’s what everyone will be seeing on your float, after all.
Miscellaneous Tips
✦ When you build the float, build it indoors or under a cover to protect the decorations.
✦ Always be efficient with the material that you use. Most of it can be recycled and so it should be.
✦ Don’t worry too much about the color scheme. A parade float is supposed to be flashy and most of the material you use will definitely be shiny or brightly colored.
✦ Always make sure to get the layers right. Finish up one layer, let the paint or glue dry up first and then proceed to the next one
✦ If you intend to use lights on the float, make sure the battery stays sealed within the float, placed in a flame-resistant body and away from any exposure to weather.
Making a float can be as simple as you want it to be. Though one needs to put in a lot of effort to make a float that is safe and good-looking, the payoff is great too. And it all starts with a little idea in your head.
