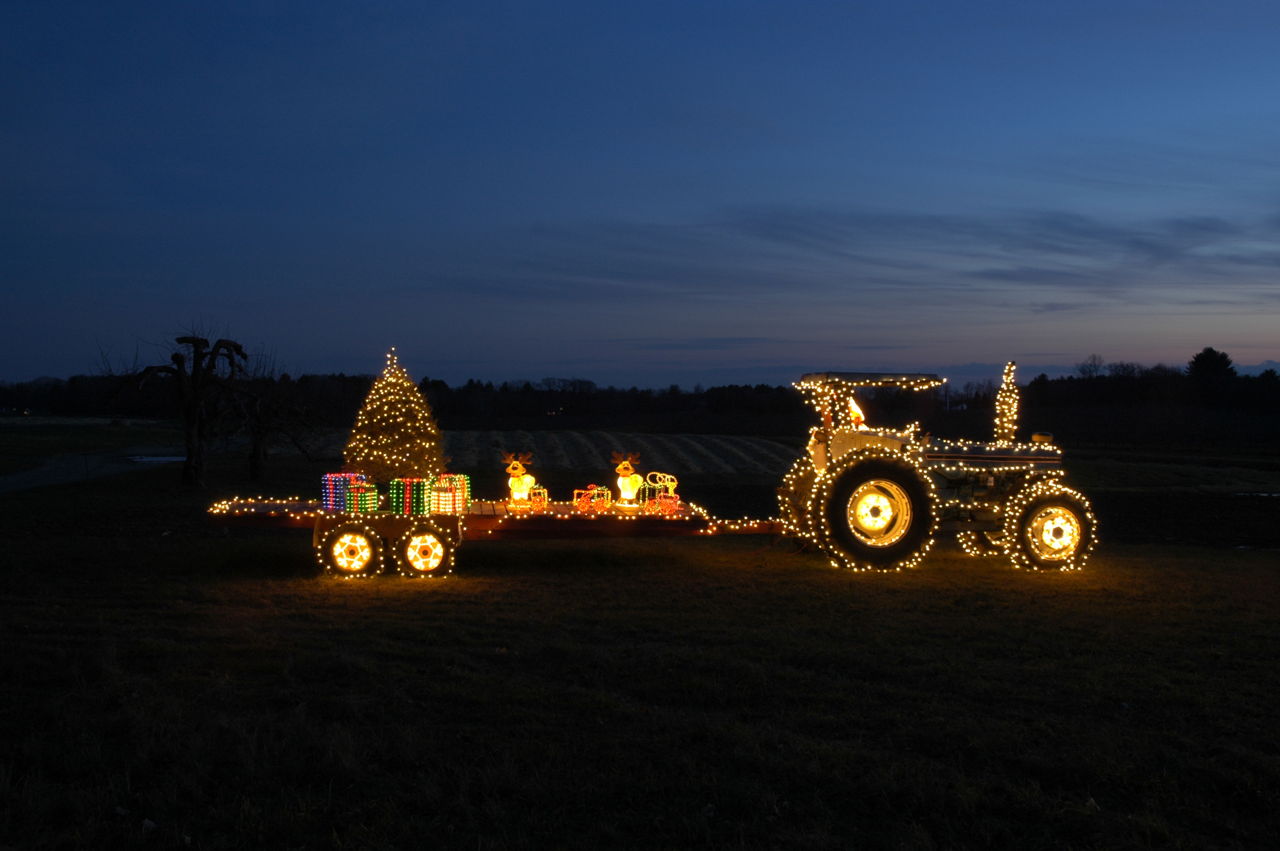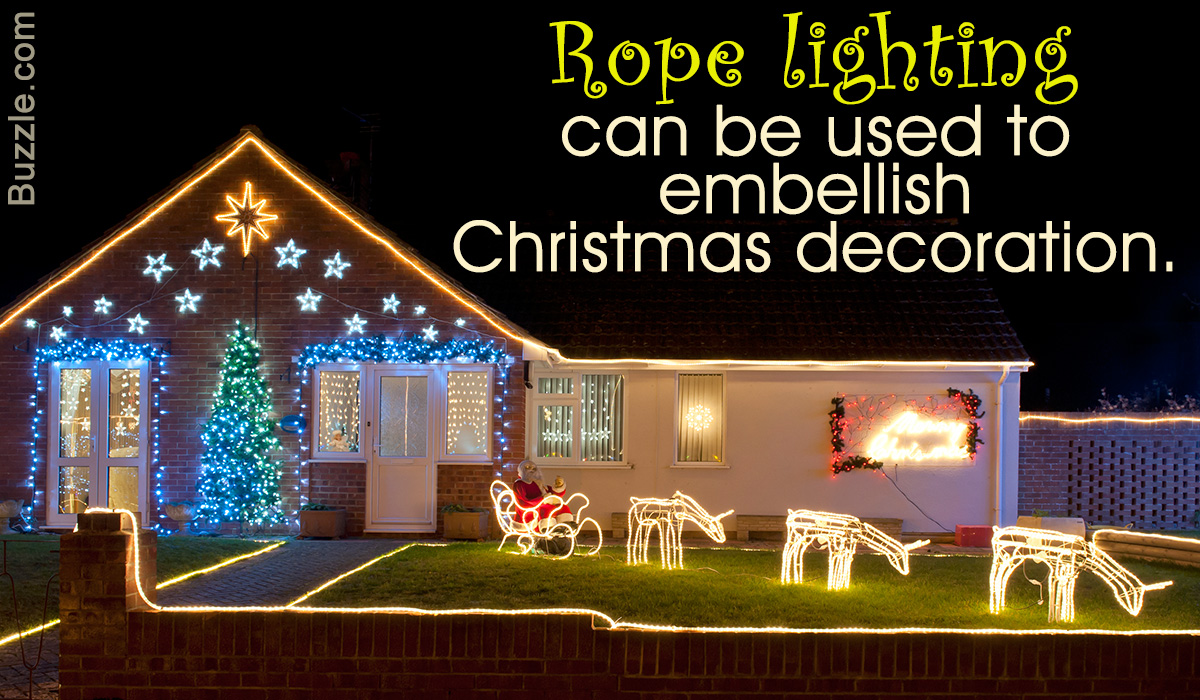
Rope lights are one of the best ways to decorate your home during a festivity. The following CelebrationJoy article will tell you how to install rope lights.

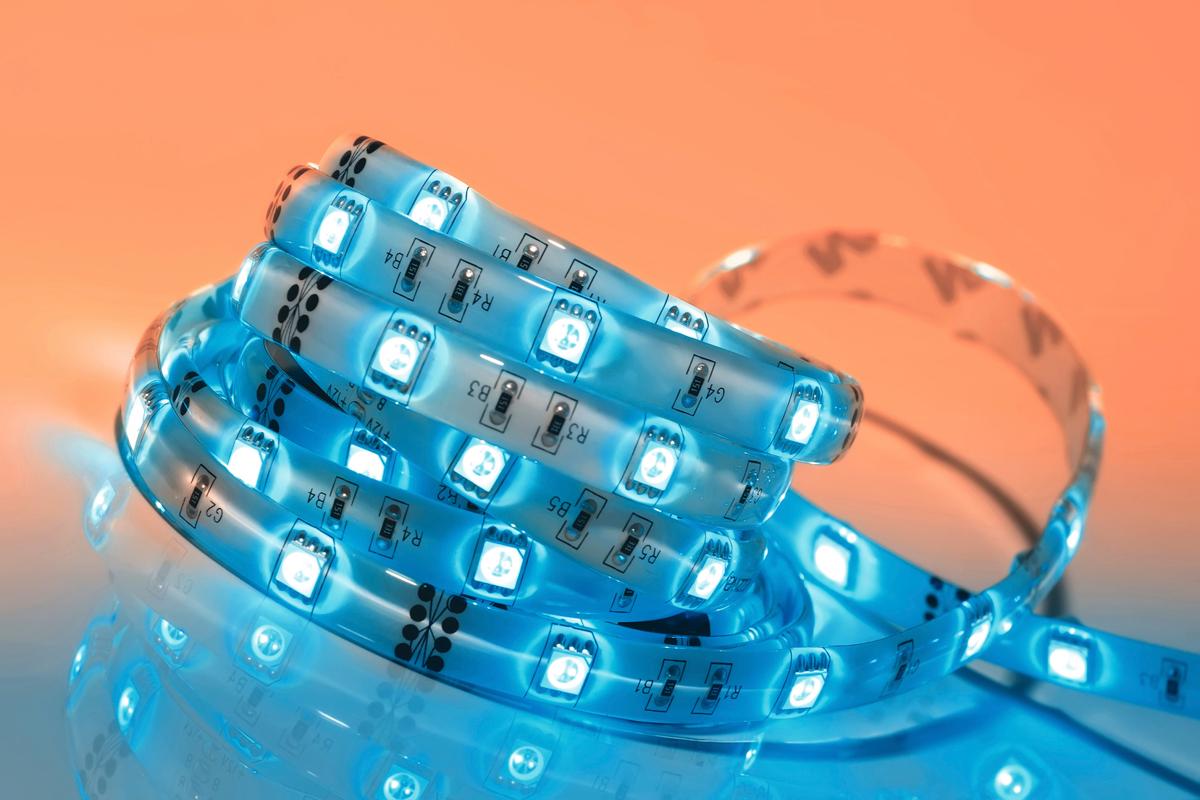
If you are looking for an economical alternative to beautify your home, then you should surely go for rope lights. The rope lighting is available in several types and colors, thus you are bound to find one which uplifts your mood, and complements your home.
Step 1: Selection
As I mentioned earlier, there is a great variety of rope lights available in the market, select the one that you prefer, but before you order rope lights you should know the length of the lighting that you will require. So, visualize the location of the lighting, and estimate the length of the rope lights that you will need. Here is something that I had done to estimate the length, I took a string and placed it wherever I intended to place the lighting, then I took the string and measured it. This gave me the exact length of rope lights that would serve my purpose.
Note: Do not buy from unauthorized dealers!
Step 2: Cutting and Joining
Creative people often have ideas which require the cutting and joining of rope lights. If you have such ideas, then you should be careful while you cut or connect the lighting.
Cutting
Take the rope lighting and observe it carefully. You will find marks that indicate the locations where the lighting can be cut (do not cut the rope lights at unmarked locations). Cut the rope lights according to your need, at appropriate locations. Cut the lighting properly, you can use a pair of scissors (or a rope cutting tool) to do so.
Joining
After you cut the lighting, your next task is to join the cut pieces to form the desired design. You can use splice connectors, T connectors, L connectors, etc., to join the cut pieces. Every type of connector generally has 2 basic components:
- Male
- Female
The male component goes into the connecting end of one wire, and female component is fixed in the connecting end of the other wire. Collars are used to fasten the male and the female components to the wire. The connecting ends are joined, and are usually covered by a jacket.
Step 3: Power Supply
Once you have your design ready, you will have to connect the rope lighting to a power supply. Select an open end of the lighting, which is near to the supply, and attach a power cord to it. To attach the cord, you will have to remove the male component from the connecting part of the cord, and then fix it to the lighting. After that, you should connect the male component to the corresponding female component. Now, you will have the power cord attached to the lighting.
Now, you are ready to mount the rope lighting. Determine the location and use any of the following methods to mount:
- Ties
- Mounting Track
- Clips
- Suction cup mounts
Before you switch on the power supply, there are a few things that you should pay attention to:
- Do not connect wires with different voltage specifications.
- Fix the male and female components properly.
- Secure end caps on all open ends.
- Supply should be with respect to the voltage specification on the lighting.
If you have followed all the steps mentioned above with precision, then switch on the supply without hesitation and enjoy the incandescence!
I recommend you to go for energy efficient rope lights, so that you won’t be startled by the electricity bill. Rope lights are easy to install and maintain. If you have a great design, rope lights will surely make your house stand out during festivals.
Note: The article is with reference to two-wire rope lighting. If the lights are not working, switch off the supply, and check the connections.